
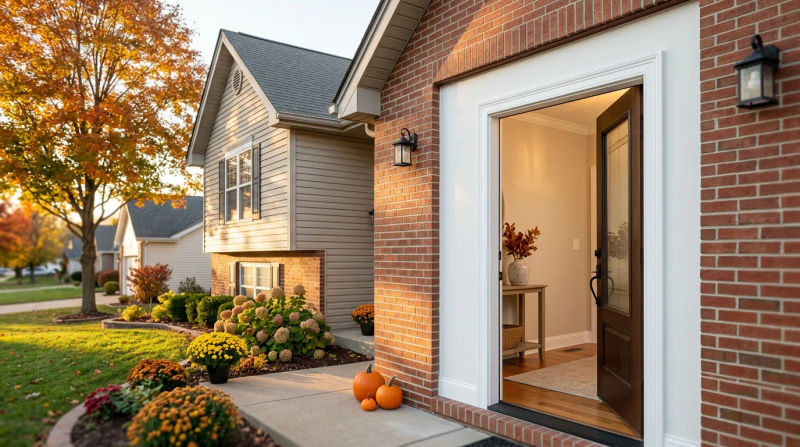
As a Senior Project Superintendent for Saving Grace Contracting, I’ve learned that homes have their own way of telling you something’s wrong. Sometimes it’s a whisper, and other times it’s a clear, undeniable statement. For a recent client in O'Fallon, MO, that statement was a prominent, sagging opening between their kitchen and living room.
Their home, a beautiful two-story built in the late 1990s, is typical of the rapid suburban growth in the O'Fallon area. These homes are spacious and grand, but sometimes the speed of construction meant that structural spans were pushed to their limits without proper engineering. The homeowner told us that as the October days grew shorter, the low-angle sunlight would stream in and perfectly highlight the dip in the middle of the wide doorway. What was once a minor annoyance had become a major focal point. With plans for a full interior repaint before the holidays, they knew they couldn't just paint over a structural problem. They needed a permanent solution, so they called Saving Grace Contracting.
The Assessment
When I arrived at the O'Fallon residence, the issue was immediately apparent. The wide, cased opening - nearly twelve feet across - had a distinct bow in the header. I placed my 6-foot level against the top trim piece, and the bubble was nowhere near the center. We were looking at a sag of nearly three-quarters of an inch. More telling were the hairline, diagonal cracks forming in the drywall at the upper corners of the opening. These are classic stress fractures, a sure sign that the structure is failing.
This is a common scenario we encounter, a textbook sagging wall opening fix O'Fallon homes from this era often require. During the building boom of the 90s and 2000s, it wasn't uncommon for builders to use standard dimensional lumber (like two 2x10s or 2x12s nailed together) for such wide spans. While adequate for shorter openings, this approach is often insufficient to carry the load from the second story floor joists over a wide distance without deflecting over time.
After carefully inspecting the attic and the floor system above, my diagnosis was confirmed. The original header was significantly undersized for the load it was bearing. I explained to the homeowners that simply patching the drywall cracks would be a temporary fix at best. The sagging would continue, the cracks would reappear, and the structural integrity of that wall would remain compromised. They needed a proper wall reframing solution that addressed the root cause. They appreciated the clear explanation and gave us the green light to proceed.
Our Solution
This project became a perfect header replacement framing case study for our skilled crews. Our approach at Saving Grace Contracting is methodical, safe, and built to last. We don't just fix the symptom; we engineer a permanent cure. Our process for how to reframe a rough opening correctly follows a strict set of procedures.
First, safety and preparation are paramount. Our 3-person crew began by constructing temporary support walls on both sides of the opening. Using heavy-duty 2x4s and adjustable screw jacks, we created a solid structure to carry the second-floor load. This critical step ensures the house remains fully supported while we perform the structural surgery. We also laid down protective Ram Board flooring covers and sealed off the area with plastic sheeting to contain dust.
With the load secured, we moved to demolition. Our team carefully cut back the drywall to fully expose the failing header and the surrounding studs. Once it was accessible, we removed the old, bowed header. On the ground, it was easy to see the permanent deflection in the lumber. It had simply given up the fight against gravity long ago.
Next came the most important phase: the rebuild. This is where craftsmanship and materials make all the difference.
- A Superior Header: We replaced the undersized lumber with a new, properly engineered header. For this span, we specified two 1 ¾” x 11 ⅞” Laminated Veneer Lumber (LVL) beams. An LVL is an engineered wood product that is incredibly strong, straight, and dimensionally stable. It doesn't warp or bow like traditional lumber, making it the ideal choice for long spans.
- Proper Assembly: We sandwiched the two LVL beams together with a ½” plywood spacer in between. This brought the header’s total thickness to 3 ½ inches, matching the depth of the existing wall studs for a seamless fit. The assembly was fastened together with a precise pattern of structural screws, creating a single, monolithic beam of immense strength.
- Robust Support: A header is only as strong as what holds it up. We removed the old single jack studs and installed new, doubled-up jack studs under each end of the new LVL header. These studs transfer the massive load from the header directly down to the home's foundation. Everything was squared, plumbed, and leveled using a laser to ensure absolute precision.
The entire process, from setting up the temporary walls to installing the new header, was completed by our efficient Saving Grace Contracting crew in just two days. We believe in working cleanly and systematically to minimize disruption to the homeowner's life.
The Results
The moment the new LVL header was locked into place, the visual transformation was stunning. The opening was now perfectly straight and level. The sag was completely gone. But the most important results are the ones you can’t see.
The new header provides uncompromising structural support, ensuring the opening will remain true and level for the life of the home. The homeowners no longer have to worry about drywall cracks reappearing or the problem getting worse. They have peace of mind knowing the work was done right, protecting the value of their beautiful O'Fallon home.
When we finished, the homeowners were ecstatic. The husband ran his hand along the new, clean framing and remarked how solid everything felt. They could now confidently move forward with their drywaller and painter, knowing the finished product would be perfect. The trim would install without ugly gaps, and the paint would go on a smooth, stable surface. This is the standard of quality we deliver on every project at **Saving